
How to easily setup your own private ‘ChatGPT’
11 November 2023 · Written by Herman · No comments yet – be the first!
Contents
Why should I be interested?
With the advent of ChatGPT one year ago, we all suddenly had access to a powerful and free tool that could assist us with tasks ranging from creative writing and translating to studying and problem solving. However, using OpenAI’s ChatGPT for free means that your data will be stored on their servers and can be used for further training of their models. If someone compromises their systems, all of the information you have sent to ChatGPT will be in the hands of evil. This means you should never provide confidential company information to OpenAI’s products, and you should always think twice before sharing your personal life’s story with ChatGPT, despite how much of a great listener they are.
Since ChatGPT is a commercial product of OpenAI, they have had to make sure there are restrictions put in place on the answers that ChatGPT can provide. This is in order to comply with laws and regulations, and not provide, say, easy instructions on how to create dangerous goods with basic home supplies. After all, who would be responsible when a company makes this information so freely accessible?[1]. And it’s not just that. What if OpenAI suddenly decides that ChatGPT is no longer free to use? Or worse, if ChatGPT is deemed unlawful, and forced to shut down? We’ve already seen the latter happen in Italy for example.
[1] This is certainly a topic for a later date.
The world is surely in need of alternatives. What if we could run ChatGPT on our own devices, completely offline and privately? ChatGPT’s internal (closed source) model requires massive amounts of RAM on their servers, which our plebeian laptops and computers unfortunately do not have. Even if the model itself were publicly available, we still wouldn’t be able to run it ourselves. Fortunately, there are open source models and software to get a near-ChatGPT experience running locally and for free on computers, laptops and even smartphones. And the best part? You can ask it any and as many questions as you’d like; it only stops working when you tell it to. That’s the power of open source!
Prerequisites
- A MacOS or Linux machine (Windows support has also been added in the meantime)
- At least 8GB RAM (the more RAM, the better the model you could use).
- You should know your way around computers (anyone should technically be able to follow this guide, but a background in IT really helps).
- Git and Docker installed on your machine (like I said, it helps to know some IT stuff; the links lead to their installation guides).
The author has run this guide on a MacBook Air (M1) with 8GB RAM and is pleased with the speed of the ‘7B’ models. Just so you know 🤓.
The framework: Ollama

Over the past few months I’ve experimented with multiple methods of running Large Language Models (LLMs) like ChatGPT locally, some more convoluted than others. But there’s one tool that I’ve found to work flawlessly out-of-the-box, is very easy to set up and is open source too. They call it: Ollama.
Ollama is an installable application that will give you a local REST API and CLI for asking a Large Langue Model questions right from your terminal. It uses llama.cpp behind the scenes to run the LLM, and has a built-in model downloader that’s easy to use. You can even create a Modelfile to create a version of your downloaded model that behaves just how you specify it should.
To set up Ollama, you can do any of the following. I’d recommend the first for simplicity’s sake:
- Head over to ollama.ai, click the big ole’ download button and install.
- Build Ollama by source yourself. This way you can be extra certain that your prompts stay local. DIY; visit their GitHub.
- Run Ollama as a Docker image[2].
[2] This guide you’re reading assumes Ollama without Docker; choose this method only as a power user.
When it’s all set up and done, you should see an Ollama service running on your machine. To test the installation, open your favourite terminal and run the ollama command with no arguments:
ollamaYou should now see some helpful text on how you can use the ollama command – this means the command is working and your installation is complete!
Perhaps you’re satisfied with using an LLM in the command line, and you don’t need a fancy chat interface like ChatGPT’s. If so, you could pull and run your favourite models already now. In this case, since you enjoy using the command line, I will safely assume you can also read Ollama’s ReadMe to figure out which commands to use on your own. In case you’re interested in the models I’ve used, keep reading. Otherwise, dive into that ReadMe and enjoy your locally running LLM!
The Web UI: à la ChatGPT
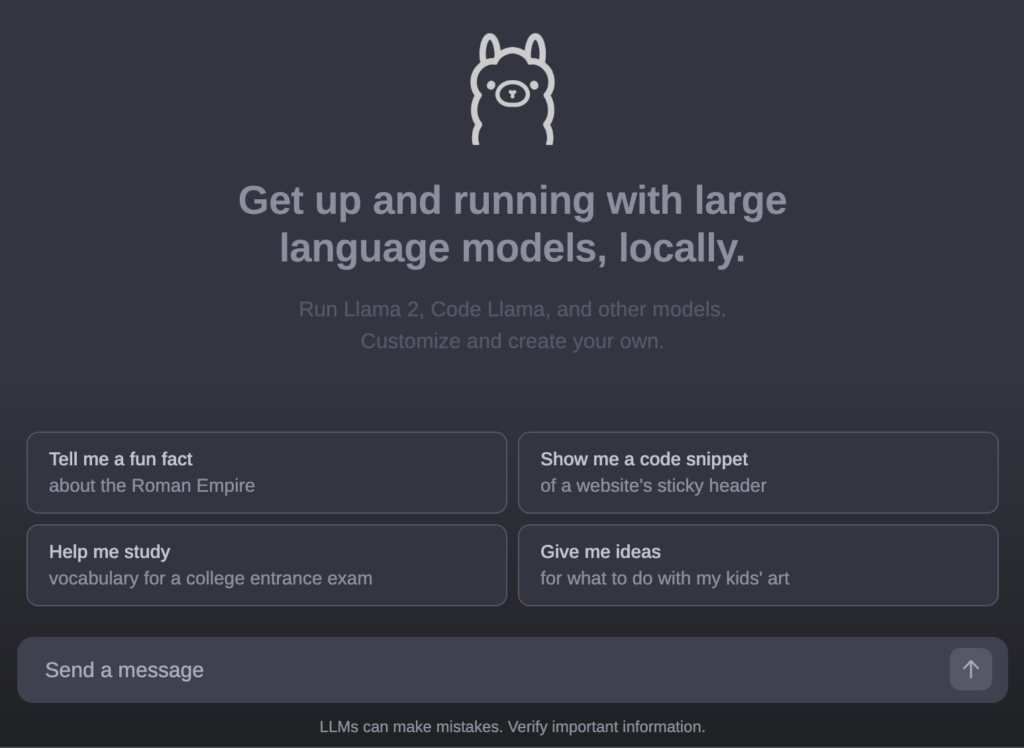
Some clever people have built a front-end for Ollama’s API, which includes the ability to use multiple models, as well as a conversation history per user. It looks pretty snazzy too, doesn’t it?
Setting up the Web UI
First, we need to make sure Ollama’s API is running. There are options to either keep it fully local (within your machine), or allow outside connections. Run one of the following commands:
# either
ollama serve  # if you want to keep the Web UI local,

# or
OLLAMA_HOST=0.0.0.0 OLLAMA_ORIGINS=* ollama serve  # if you want to allow e.g. a phone to connect to your Web UI.
With Ollama up and running, it is time to download the Open Web UI. To do this, run the following in your command line:
# You may want to first `cd` into your preferred download location for the web ui code, then run
git clone https://github.com/open-webui/open-webui.git  # download the code
cd open-webui  # head into the codebase

chmod +x run.sh  # to make this file executable; only necessary the first time; check the contents before you run it!
./run.sh  # this builds and starts the Docker container for the Web UI on default port 3000 defined in run.sh
Now open your browser of choice and visit localhost:3000. You should be greeted with the Ollama web interface. It won’t do anything yet though. All of the functionality is present; we just need to download a model. There’s a small settings icon near the top. Go there, head over to “models” and put an existing model name in the “pull a model” text box. Feel free to download multiple models if you have the storage space. Via the dropdown menu on the interface’s homepage you can quickly switch between the downloaded models.
Which model should I pick?
Choosing the right model may be the most difficult part of this guide. After all, you will need to make a decision based on your expected use case of a model. For all existing Ollama models, visit this page.
At the time of writing, I would recommend openhermes2.5-mistral as a general purpose model. This is a finetune (read: improvement) over the already powerful mistral 7b model. It is similarly small enough to run on a machine with only 8GB of RAM.
What’s next?
The Web UI is running, you’ve downloaded your favourite model, now it’s time to put it to good use. You can use it just like ChatGPT. There’s even an option in the settings to set a system message, which is useful to give the model additional information by default. For example, adding “reply as briefly as possible” makes your model reply with fewer words than it normally would – this is also my recommendation if your model runs a bit slowly.
Let me know in the comments how well these models work for you. Which model is your favourite? What does the model do well in your experience, and what does it absolutely not do well at all? Let’s all learn from it together!
Access from multiple devices

Ollama phone!
So you’re happy with Ollama’s Web UI and wish you could use it from your smartphone as well? Good news everyone! If you’ve made sure Ollama is running with the additional parameters mentioned earlier (that one command with OLLAMA_HOST=0.0.0.0 etc.), you can access the Web UI from any device on your local network (LAN). This means that anyone can easily use your LLMs if they’re connected to your network by visiting your computer’s local IP address together with the Web UI’s port. So instead of visiting localhost:3000 (which always refers to the device itself you’re typing that on), from your phone you should visit for example 192.168.1.100:3000[3].
[3] Replace the example IP of 192.168.1.100 with the local IP address of your Ollama-hosted device.
My custom setup has the Ollama Web UI running on my always-on server at home. With a separate VPN at home, my phone is always connected to my home network. If you set it up like this, you’ll have access to your own private LLM any time from anywhere in the world!